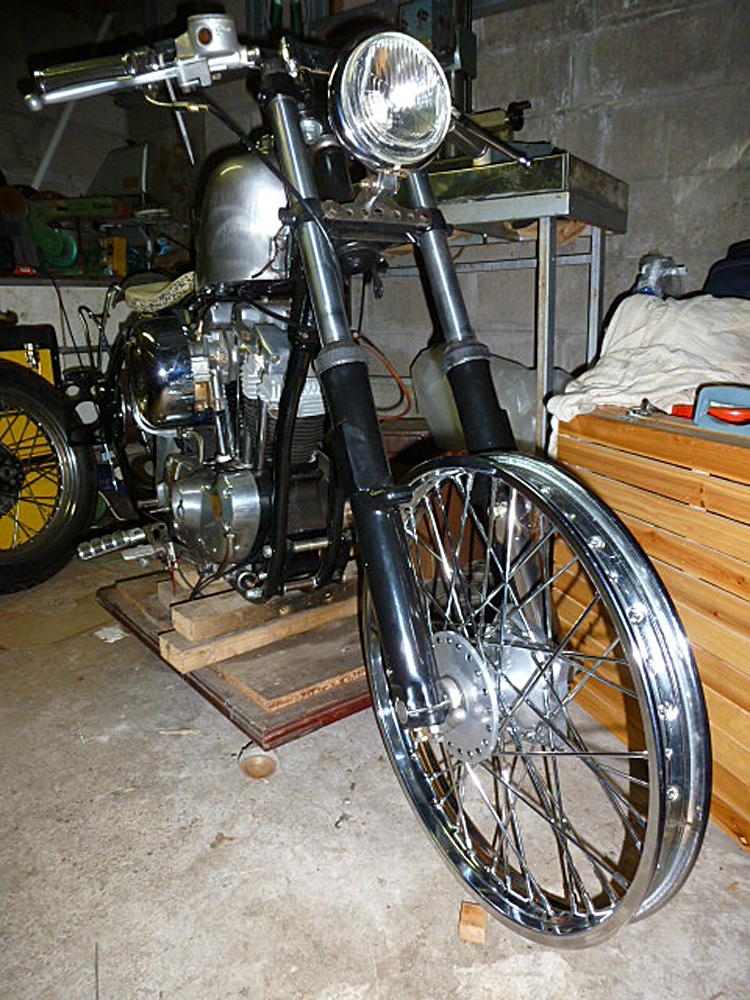
I don't know if I will end up keeping the hard-tail and going for a 16" back Rim, or going for a restoration with 18" alloy rims.


I am happy with the way it looks for now


 |
| Commercial New Moon Disc's |
 |
| Homemade Covers I think these are Very Very Cool |
 |
| Moon again, Wheel covers look great with a spoked front wheel |

 |
| Moon again |
 |
| Crazy Homemade bike with Cymbals as covers |

 |
| Could have used some Crap cymbals instead of those lovely Zildjians |
 |
| Another take I don think this works on a cafe racer to heavy looking fro a nimble racer |
 |
| Jury Rigged Wheel Truing Stand. Note the four black marker lines on the rim, the spokes either side are the eight I did the main wheel truing with. See Video Above |
 |
| Leveled Axle |

 |
| Homemade Gauges, |
 |
| Bent wire is for up/down truing, I want a round wheel not oval ;) |
 |
| I didn't have a Spoke spanner but a normal 1/4 or 6mm spanner did just fine |
 |
| Forgot to get a new belt to cover the nipples ends so I clean the old one and turned it around |
 |
| With New Tube and Tire |


 |
| I really like the thinner rim, it makes the front look a lot lighter to me. Now I have to get a nice rear 18" Rim and do it all over again ;-) |
 |
| Run through the holes with a suitable drill (This one is Cobalt) it makes fitting and tightening the nipples far easier. |
 |
| Start by putting all the spokes into the Hub, this is for Sportster Wheels, alternating Long and short spokes, they end up forming groups of four, 40 spokes 10 groups. Other motorcycle wheels need you to put spokes in a particular order but for the Sportster they all go in first. Here The Boss is inspecting the work so far ! |
 |
| Which ever side you start the long one goes to the first hole next to the valve hole working clock wise, the other spoke of the pair goes 15 hole down. The first of the next pair goes into the first hole of a new set of four, the next 15 holes down from that one. Work all the way round turn over and do the same the other side. After a few you see them falling into place, I had to undo a few to get the right ones below and above but its fairly easy. Remember to photography the old spokes in place before you take them out for reference |
 |
| The second side I spread the spokes out and offer them to their relevant holes then start putting the nipples on |
 |
| Hand tighten the Nipples alternating 180 degrees every group of four. |
 |
| Ready for Turing took about a hour, thee next one would take 30 mins |
 | |
On the bike,
|
 |
| Harley Threading Instructions |
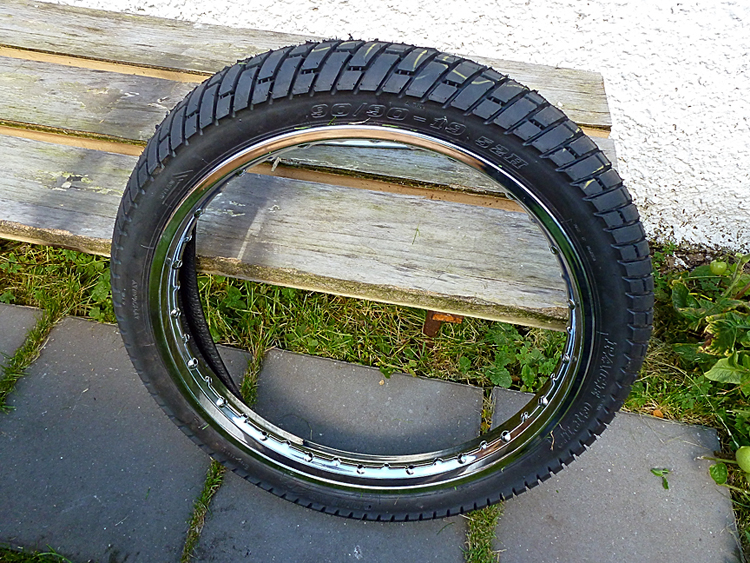 |
| Test fitting me 90/90/19 tire |
 |
| 19"x 1.60"Rim |

 |
| Looking for that skinny 21" wheel look with a 19" rim |
 |
| Spoke set long one side short the other |
 |
| Long/Short |
 |
| The Boss chilling after lunch |
 |
| Cutting the spokes out I photographed how they lay beforehand |
 |
| That's done getting wiser as I get older!!! using proper protection |
 |
| Hub |

 |
| Time to get the polishing wheels back on the bench grinder again |

 |
| Original Rough Casting |
 |
| Starting to smooth things out |
 |
| Still a good way to go |
